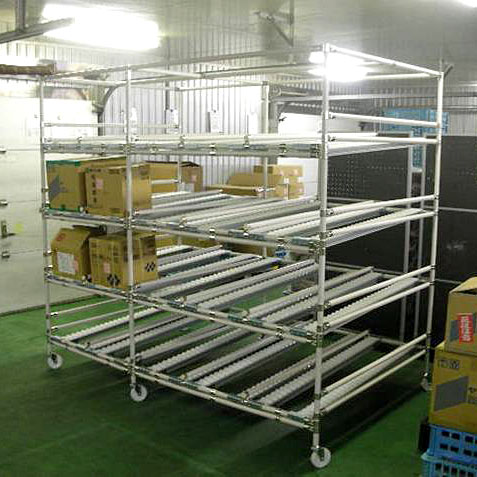
We are manufacturer of lean tube in China. We will introduce how to detect the quality of lean tube table in this news.
1, On the opposite sides, should be installed with a handle, rings and so on. Hanging equipment screw holes or cylindrical holes. When designing the lifting position, consideration should be given to minimizing changes caused by lifting.
2, For the surface should not have rust, scratches, bumps and other appearance defects that affect the use.
3, Should use high-quality fine particles of gray cast iron or alloy cast iron.
4. The hardness of the working surface should be HB 170-220.

5. According to the user's requirements, after the threaded holes or grooves are set on the working surface of the plate, these parts should not appear raised above the working surface.
6, The work surface should not have sand holes, pores, cracks, slag inclusions and shrinkage and other casting defects. All kinds of casting surfaces should be clear sand, and the surface smooth, solid paint. Each edge should be dulled. In the flat work surface where the accuracy level is lower than “00” grade, sand holes with a diameter of less than 15mm are allowed to be blocked with the same material, and the hardness thereof should be lower than that of the surrounding material. There should be no more than four plugging sites on the work surface, and the distance between them should not be less than 80mm.
7. The scraping process shall be adopted for the working face. The planing process may also be adopted for the “3” level flat working face. The surface roughness of the planing work surface is not more than 5um 8 according to the arithmetic average deviation of the profile. It should be subjected to the stability treatment. And demagnetization.
8. Surface Grinding: Platforms In the early days, people used three platforms to match each other to produce a true flat surface. A skilled and patience whetstone master can make an unbelievable degree of truth without using any measuring instruments, but using only the three-platform mating method to make multiple 90-degree rotations.
9. Plane: It can be divided into three levels: Reference, Master, and Work.
Sign up to receive our newsletter and exclusive discounts and offters.